How use MyAdmin
Before use MyAdmin, you need to install the cms.
Login
After the installation and the creation of the admin account, you can now login on MyAdmin.
If you have your website hosted locally simply click here: http://localhost/my-admin/.
- If your website have another url, simply go to: "site url/my-admin/" also with last slash.
You can now see this:
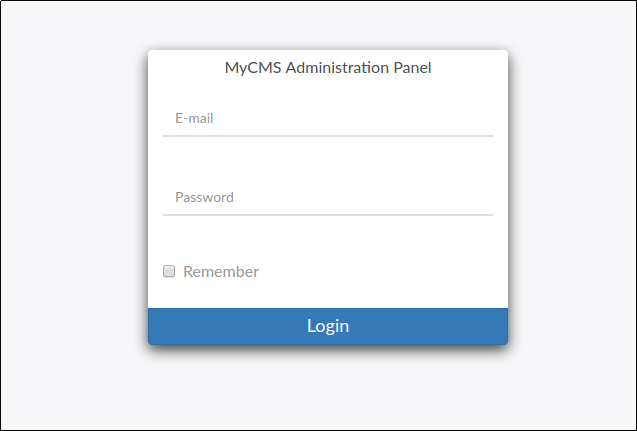
- Fill the E-mail filed with the admin email (the account created previously)
- Fill the Password filed with the admin password (the account created previously)
Dashboard
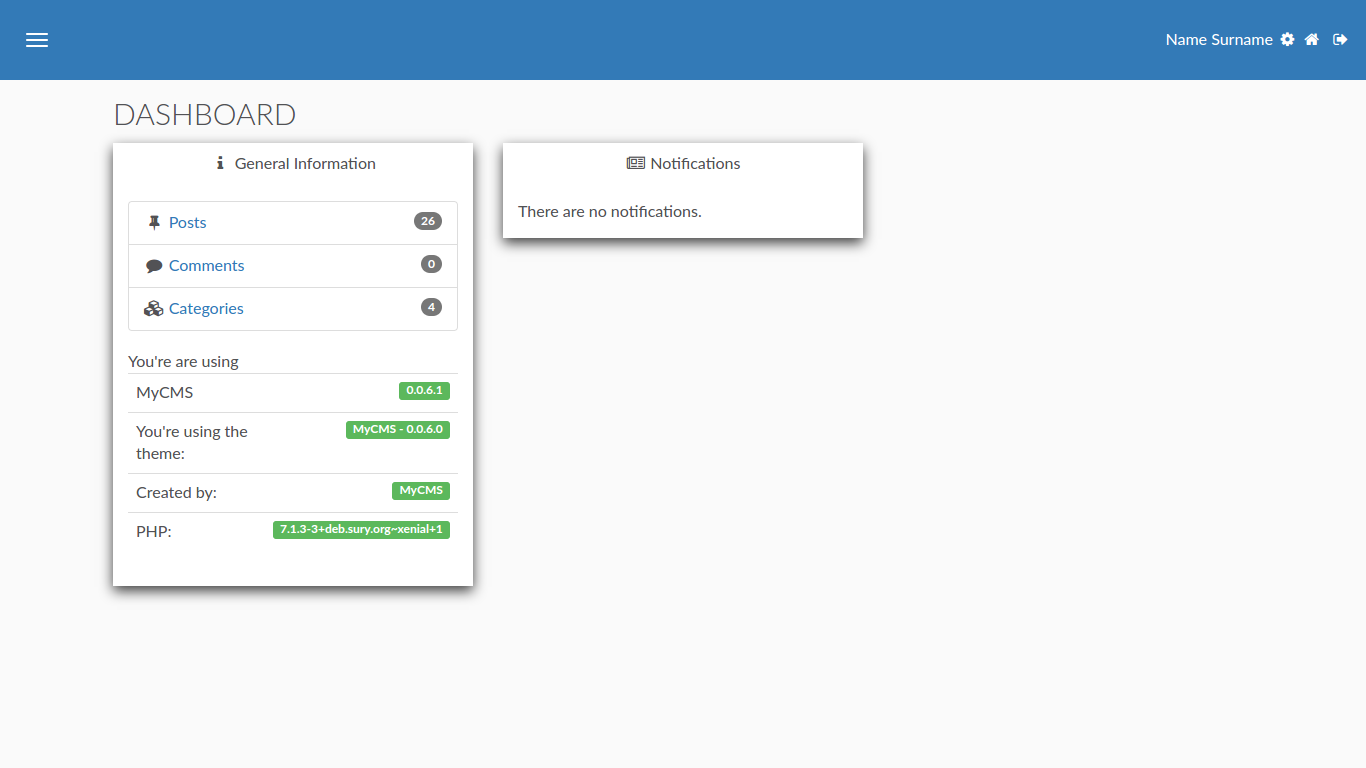
After the login in you can see the dashboard.
On the top of the page you can see the topbar, on the top left there is the menu, click on the 3
horizontal bars.
This is the menu:
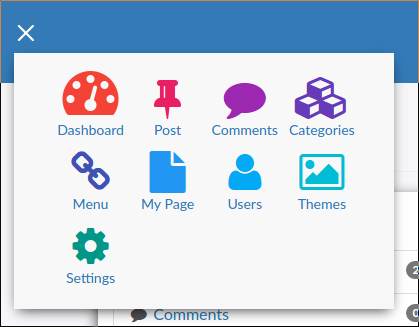
- Dashboard: First page.
- Post: (blog) this menu is for manage post (only if the theme permit blog) .
- Comments: (blog) this menu is for manage comments to the posts (only if the theme permit blog) .
- Categories: (blog) this menu is for manage blog categories (only if the theme permit blog) .
- Menu: where you can edit the topbar menu on the website.
- My Page: for make a new website page without coding, or without know anything of html.
- Users: in this page you can manage user, get users information, ban users, give permission to users.
- Themes: in the themes page you can install others theme, edit theme, set a new theme...
- Setting: the settings menu, where you can edit all mycms settings.
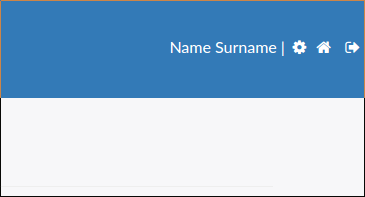
This is the top right bar:
- Name & Surname: Your name and surname.
- Settings: for a rapidly access to the settings.
- Website Home: for go to the website home page without logout from MyAdmin.
- Log Out: for exit from MyAdmin, after this you need re-login.
Next Step (MyAdmin Post)