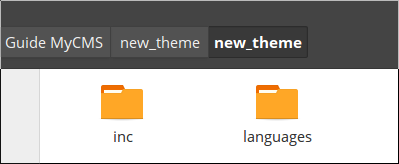
Build our first theme (Structure of the new theme):
Make all the necessary folders
Make two folder, "inc", "languages".
These folders contains the translation of the theme, other info and a function file.
Open the "inc" folder and make a "info.php" and "functions.php" file.
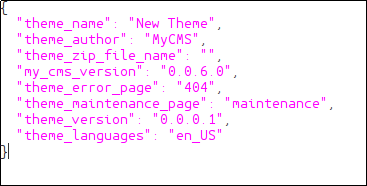
The info.php file contains name, version, author, cms_version(required version) and a require_twig_engine variable.
Open the info.php file and write these things. Fill like info.json.
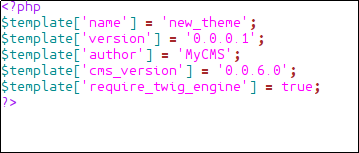
"require_twig_engine" is set to false because in this guide we go to build a theme in php language.
"require_twig_engine" is a variable used in case the constant "ENABLE_TWIG_TEMPLATE_ENGINE" in the config is true and we don't want disable it in the config, but our theme is a HTML or PHP theme and the twig engine don't support them.
The functions.php file can contain php functions and route and other things. This file is included before the cms send the response and before any page was loaded, for this you can insert functions inside this file and call them in all the pages.
Open the functions.php file and write these things.
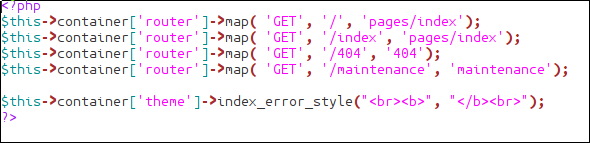
The "map" function inside the "router" class is an altorouter function, for other info view http://altorouter.com/
If a user visit our website ex: "http://www.localhost.test", he is redirected to the index page, in the top of his browser he sees: "http://www.localhost.test" but is the same thing as "http://www.localhost.test/index" because we have insert this: "$this->container['router']->map( 'GET', '/', 'pages/index');"
What is "$this->container['foo']->bar" and what I can do with it?
"$this" in php is a reference to the calling object, the current object in the theme is the
"MyCMSTheme" class.
In this class there is a variable called "$container", for this we write "$this->container[]",
and this variable is an array of objects, all objects inside are the classes loaded before the
"MyCMSTheme" class.
With this variable accessible inside the theme, we can do what we want, build a query, get settings from the database, use security functions...
For example the "index_error_style" function is a function inside the MyCMSTheme class, this function
allow adding a HTML tag before and after the {@INDEX_ERROR@} tag.
- For know all default tags see the tag guide.
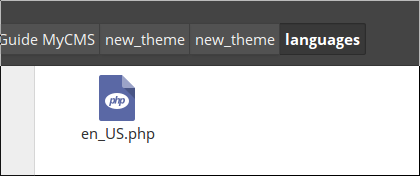
Add a language to the Theme:
You can also don't adding a language, but add is useful if you want make different translations of your theme.
Open now the "languages" folder and make a new file, call it "en_US.php" or any language you want.
Now open the file and write this:

You must write this "$language = [];" in any languages file or the translation don't work.
Like you can see there is a variable "$language", is an array, and inside we have inserted a key:
"Lorem ipsum", and a value: "Lorem ipsum [..]".
Now when in our theme we write:
We view the content of the key "Lorem ipsum".
The "e" function is a function inside the MyCMSLanguage class. We can also access to it by
writing this: "$this->container['languages']->e();"
Now open the info.json file and write in the "theme_languages" the name of the translation file without extension.
Now make the error and the maintenance page
Inside the theme folder make two php file (because in this guide we make a php theme). Call them like the error and maintenance page in the info.json file.
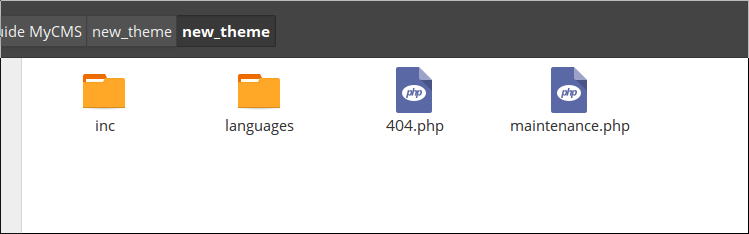
Maintenance
404
If you use the "get_file" for load header and footer, you need put them on the theme folder and not in a subfolder inside the theme.
The "get_file" function is used only for load header, footer, page_loader(page_loader_top,page_loader_bottom).For load any other page in a subfolder or in the main theme folder you can use "get_page". View them inside the MyCMSTheme class.
Now make the header and the footer page
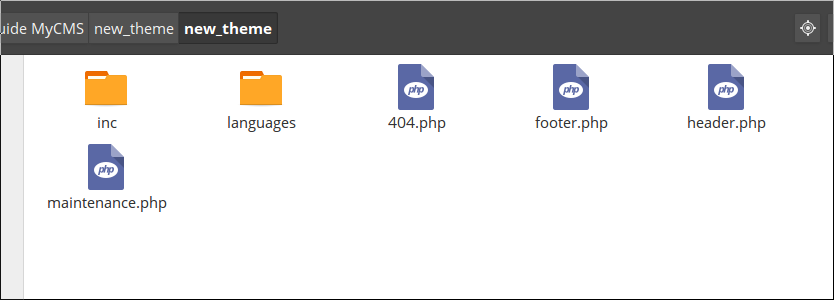
Header
Footer
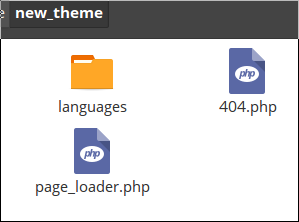
Now make the last necessary file: "page_loader"
Make a new file and call it "page_loader.php". This file is used as container for the pages builded with MyPage, the page in the administration panel.
Make the last file
In the functions.php file we have wrote this: "$this->container['router']->map( 'GET', '/index',
'pages/index');".
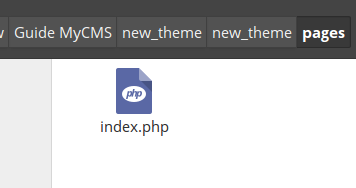
This line mean that if a user make the "/index" request. The cms look in the theme folder then in
the pages folder and load the index.php file.
Next Step - Publish the themeScreenshot
If you want, you can add a screenshot of your theme.
Make a png image in the principal folder of the theme, call it "screenshot.png" (max Height: 180px, max Width:180px).